1. Create Your Account
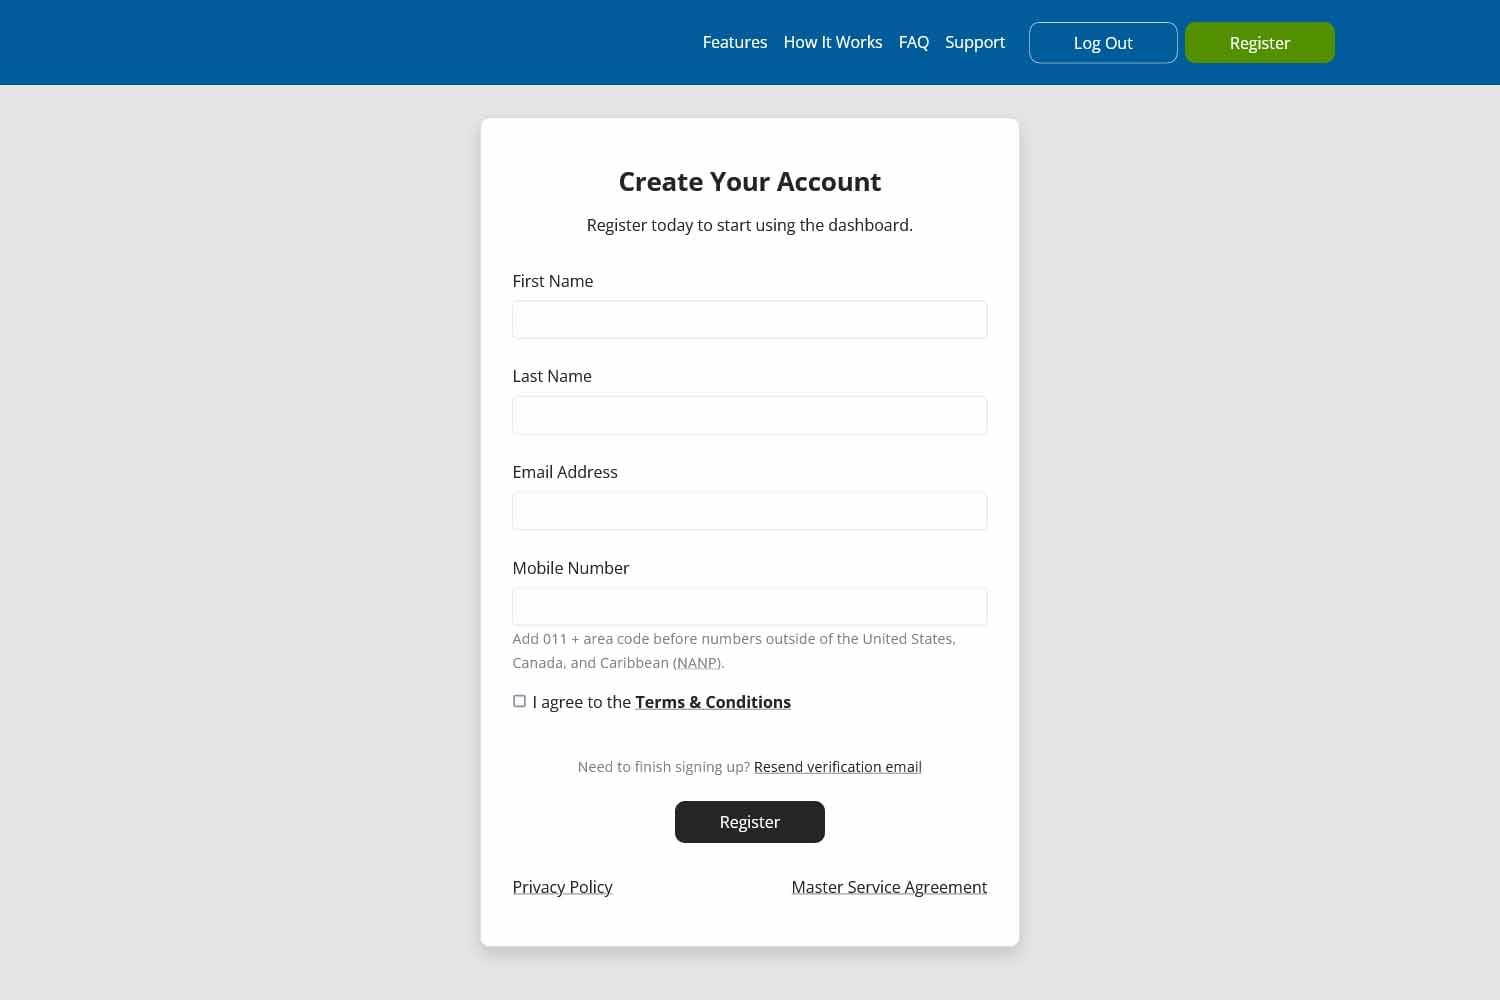
So, you're ready to try Dash Notify. Great! To start sending SMS campaigns instantly, complete the sign-up form to create your account.
If you need help deciding which package is best for you, you can connect to one of our representatives for recommendations via phone or email. You can also chat with us now in your web browser.
2. Create a Phone Number
Once your account has been created, it is time to log in and start exploring your new dashboard and start sending mass messages.
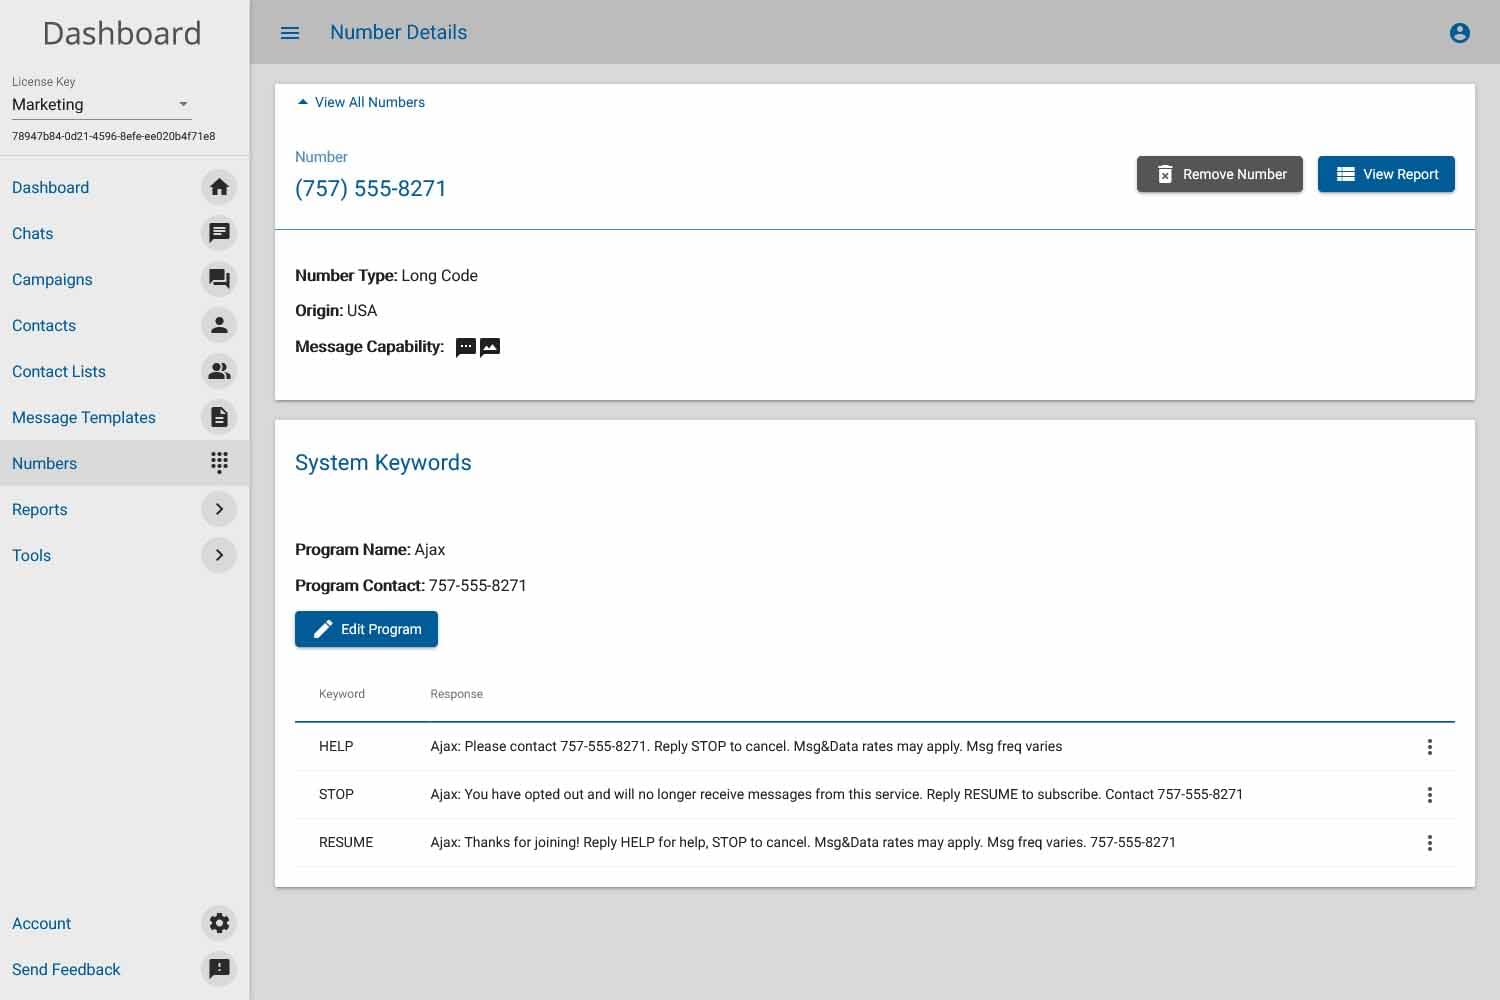
The first step in sending a text message campaign is ordering a phone number. To obtain an SMS-capable phone number, choose Number Management from the left side menu. Once you're on the Number Management page, click the Add Number button. You will then be able to view all number options available and select what is best for you.
3. Upload Contacts
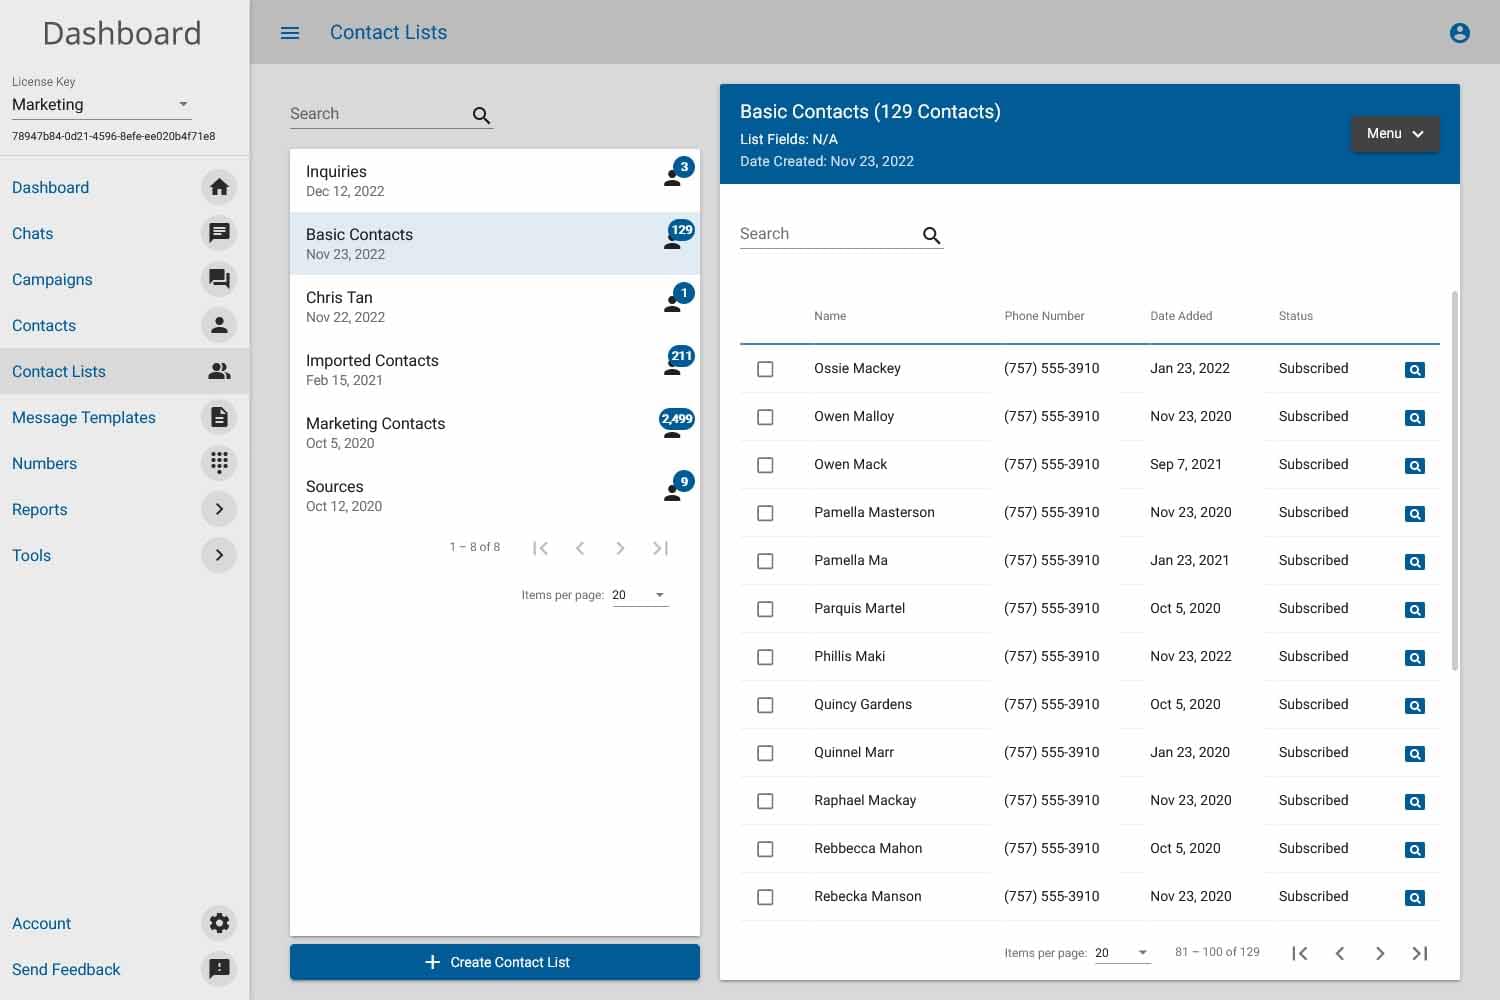
Before sending a campaign, you must create a contact list. To do this, simply select Contact Lists from the left side menu. Once on the Contact Lists page, click Create Contact List.
There you will be prompted to name your list and upload an Excel or CSV file of contacts to your account.
4. Launch Campaign
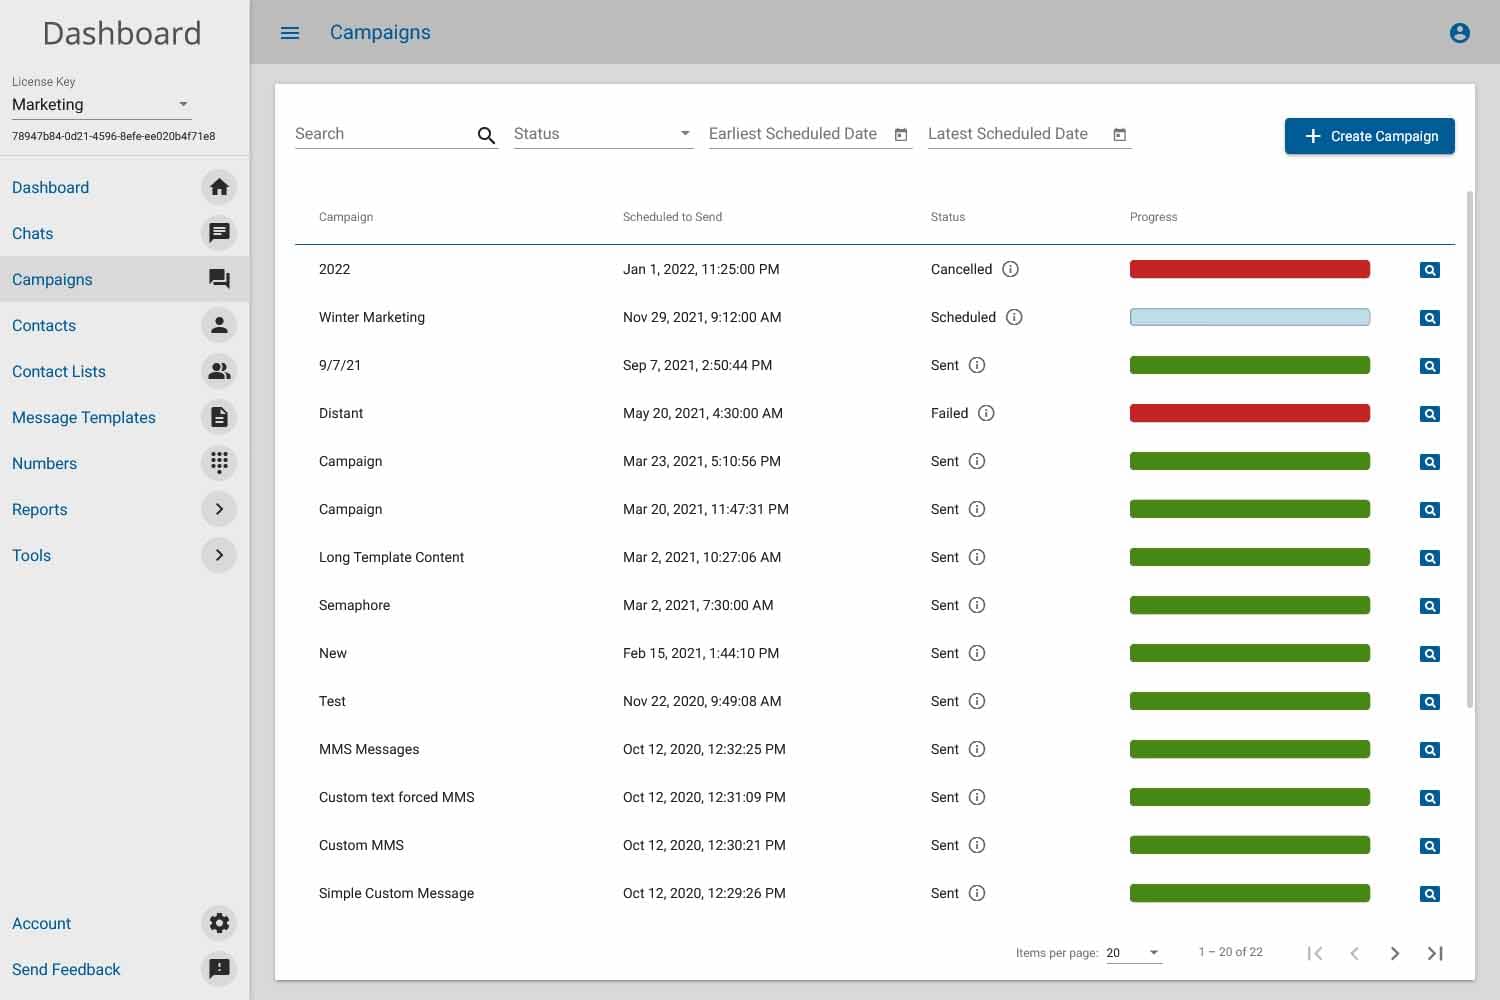
After obtaining a number and uploading a contact list, you're ready to send your first campaign! Create a new campaign by selecting the Campaigns option on the left side menu.
Once there, click the Create Campaign button in the top right corner. You will be prompted to name your campaign, select a phone number, and choose a contact list.
Here you can also compose your message. Either send it immediately or schedule it for a future date and time—it's your choice.

